Ok, so here it is, five years deep in RC tanking. The
hobby has given me some very good friends from all over the world. Along with
those friends comes a collective knowledge of everything armor. In a quest to
keep learning, I began to dabble with an airbrush, and frequent sites where many
of thre best armor model builders dwell. I began trying to incorporate high
levels of detail into my RC tanks with the use of Photo Etch parts and paint and
weathering. Now, I woul like to urge others to join this wonderful hobby of
building and running /battling rc tanks. I would also like to share what I have
learned here in pictures of my in progress works. Enjoy and stay tuned....the best is yet to come
Here is a Tamiya King Tiger which is being repainted for a friend over in Australia. This tank has along journey home...
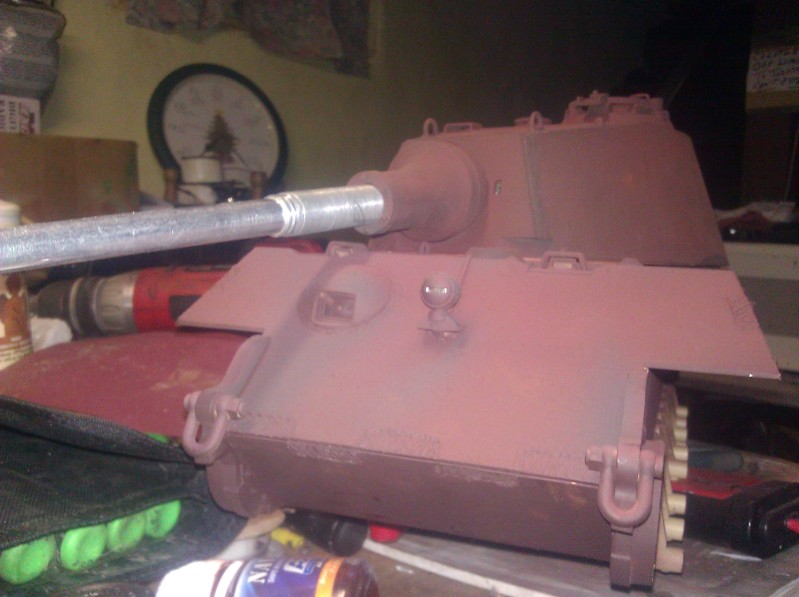 Hull Red to simulate the primer coat used on these tanks 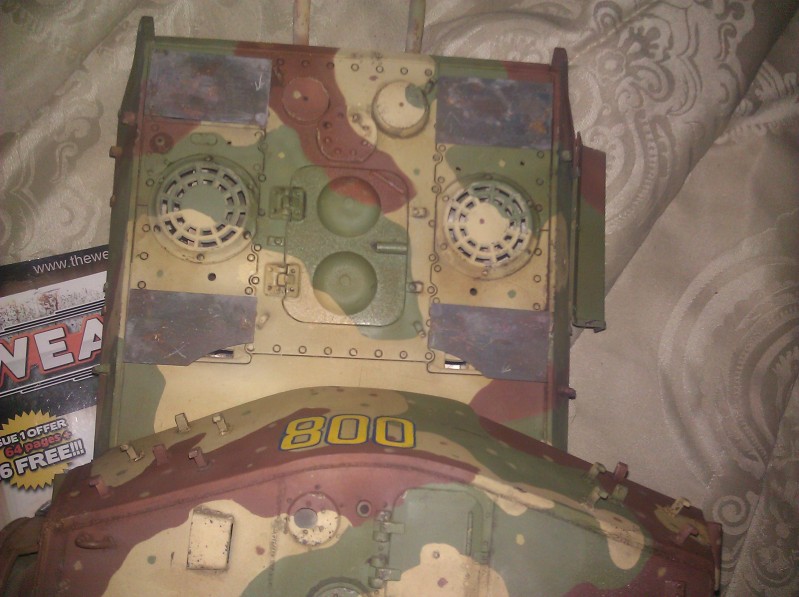 The Photo Etch Armor plates applied to the rear deck to keep debris out 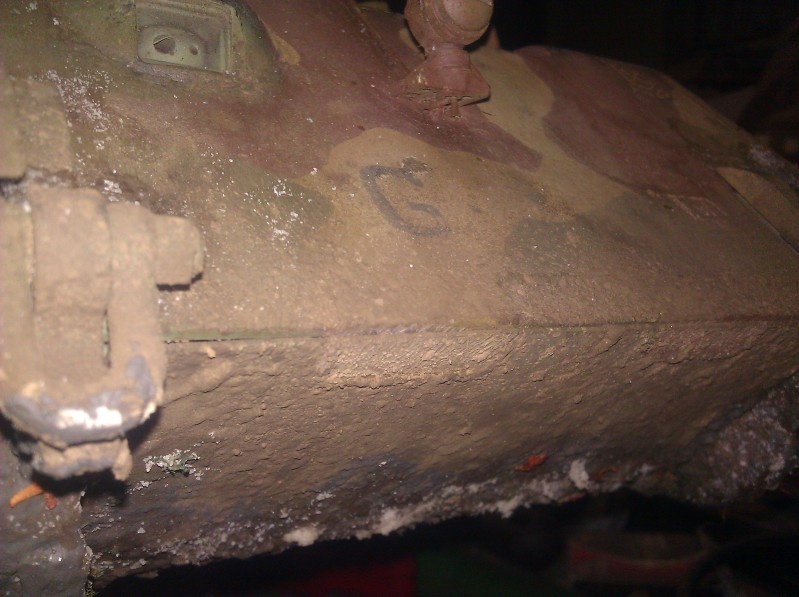 After the thick mixture is dry, I began to add other earth tones like dark earth, and dry and fresh mud also from AK Interactive to give more contrast to the model. 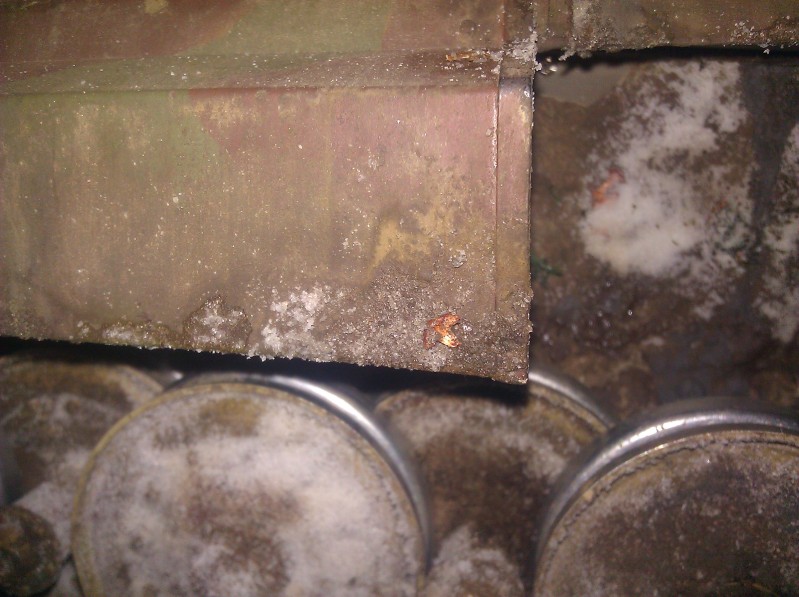 The road wheels added with mud and snow effects 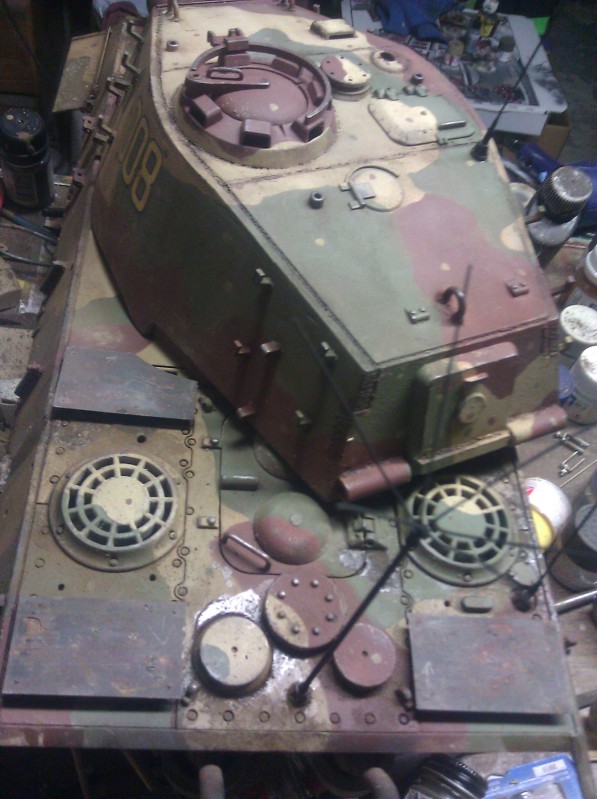 Here you can see the three anennas added, including the command antenna on the rear deck. These were made using brass and soldered together. They are removable for transporting. |  Color modulation of Dark Yellow as a Basecoat  Overhead shot of 008  Here you can see, in addition to the dirt, there are dry leaves and snow effects added which are all kept in place using pigment fixer. Some wet effects fluid is used randomely for wet mud and snow/ice 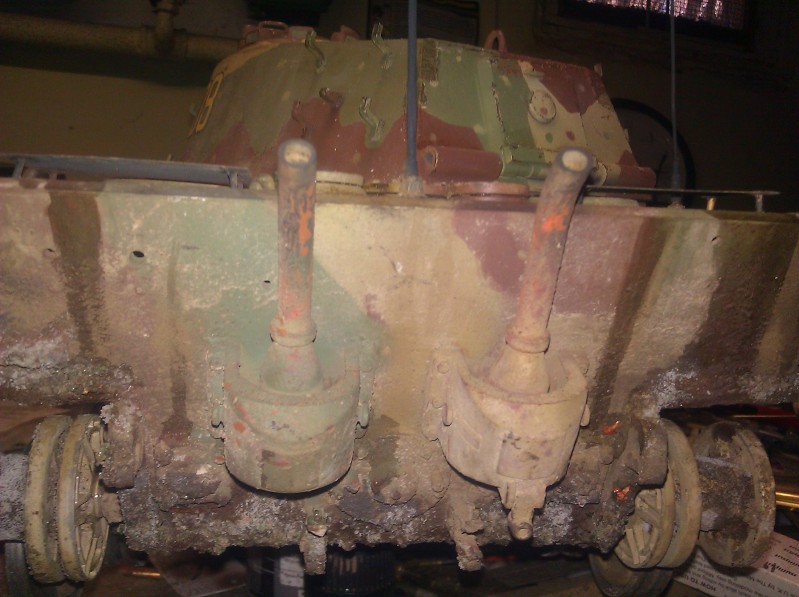 The completed rear of the tank 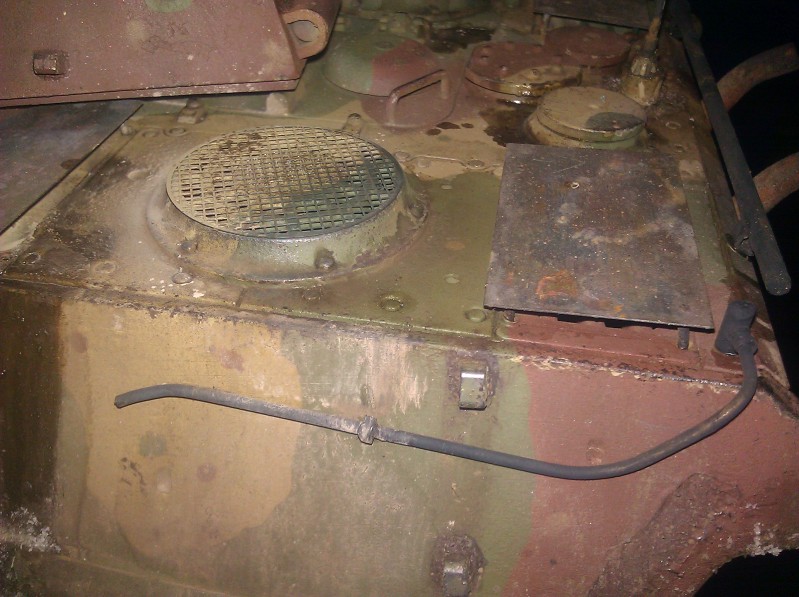 The last little bits added. | 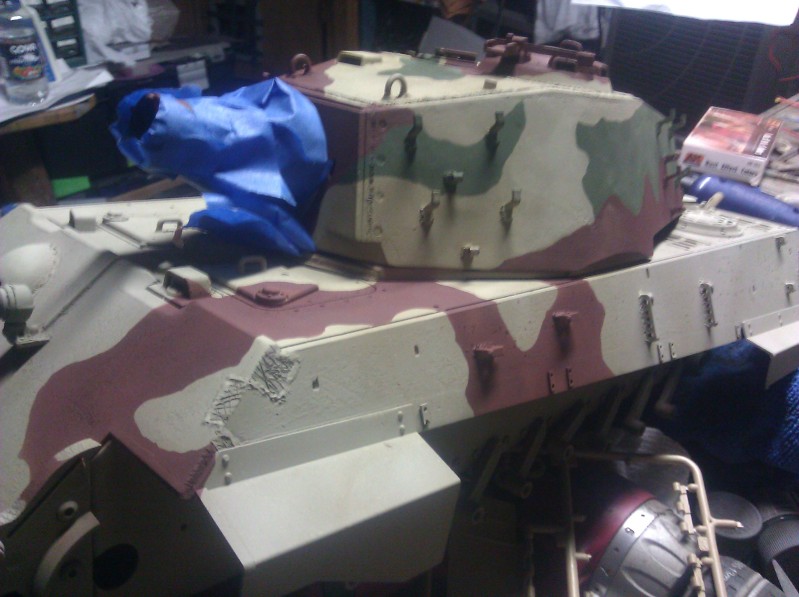 The beginning of the hard edge camo applied 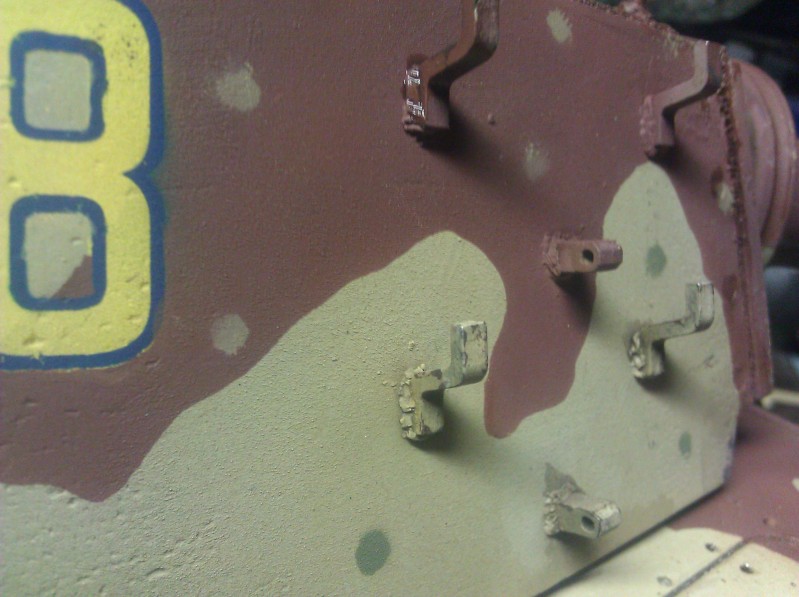 Close-up shot of the turret and beginning stages of weathering 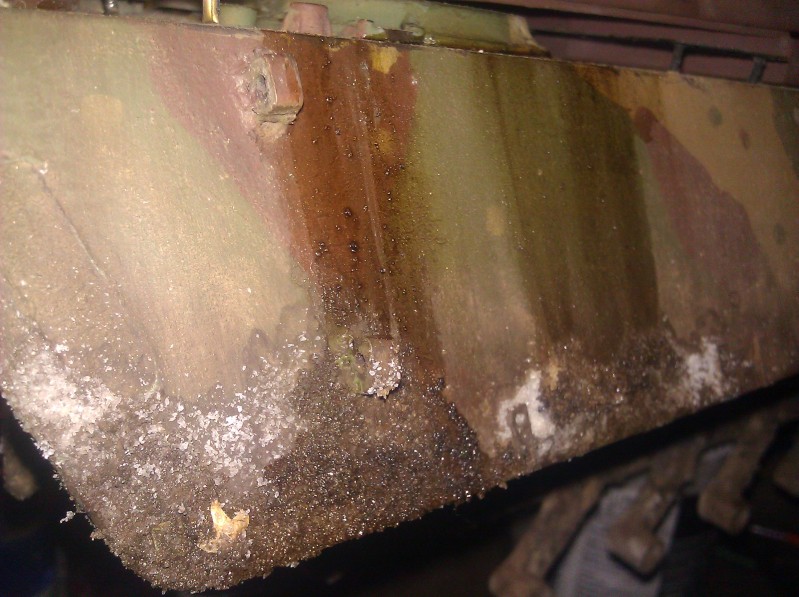 Here we use fuel stains and engine oil mixed with wet effects to show spills and runs down the sides of the tank. This is also mixed into some of the mud and snow to simulate the effects on the lower sides of the hull structure. 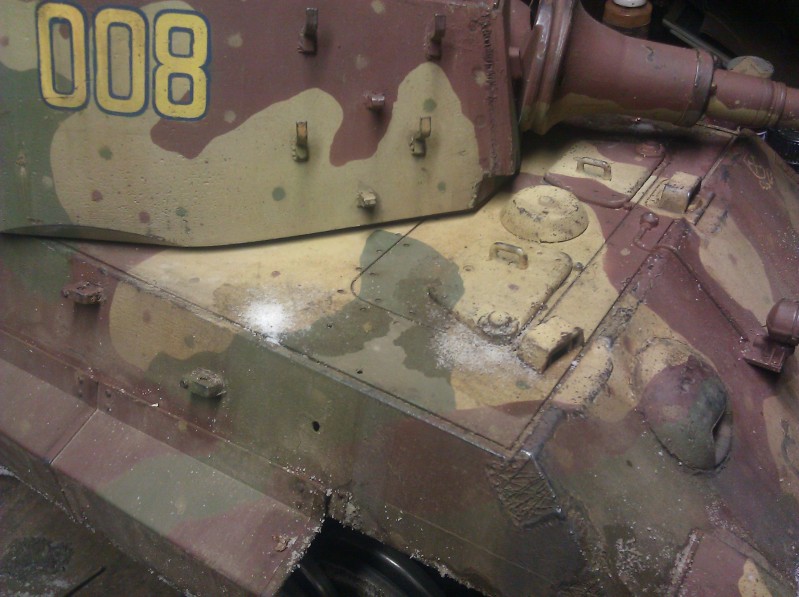 Some added effects of wet and melting snow on the hull. 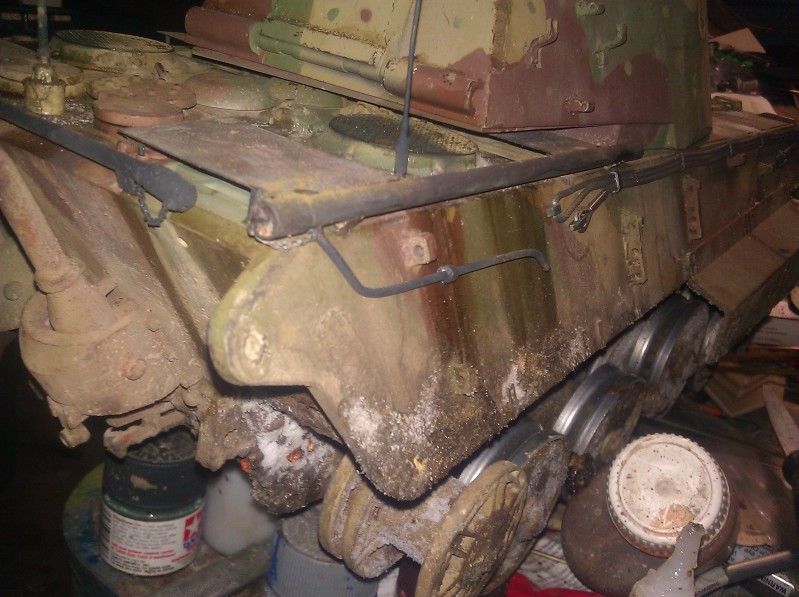 One more angle | 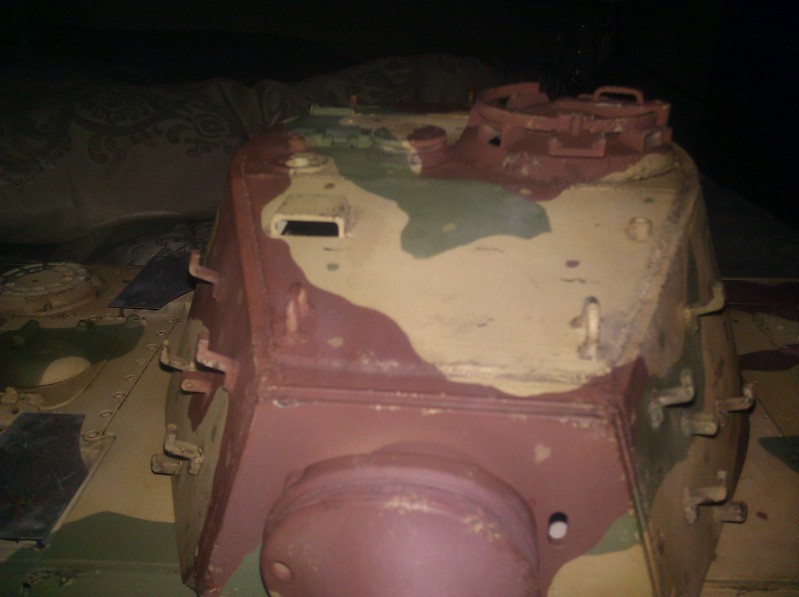 A close up of the finished camo after a filter is applied and some light weathering  Beginning of the weathering to the lower hull with a very thinning earth color 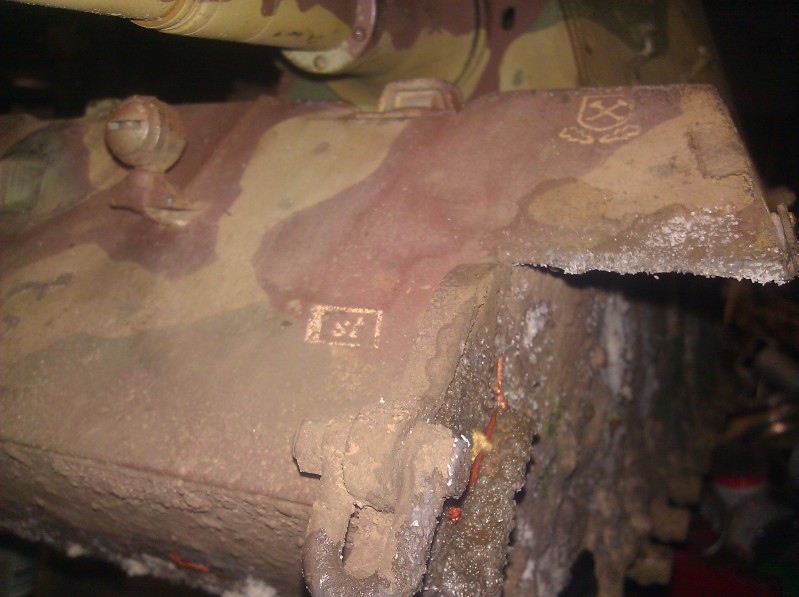 Anther view of dirt and debris caught up in the hull from the tanks journey 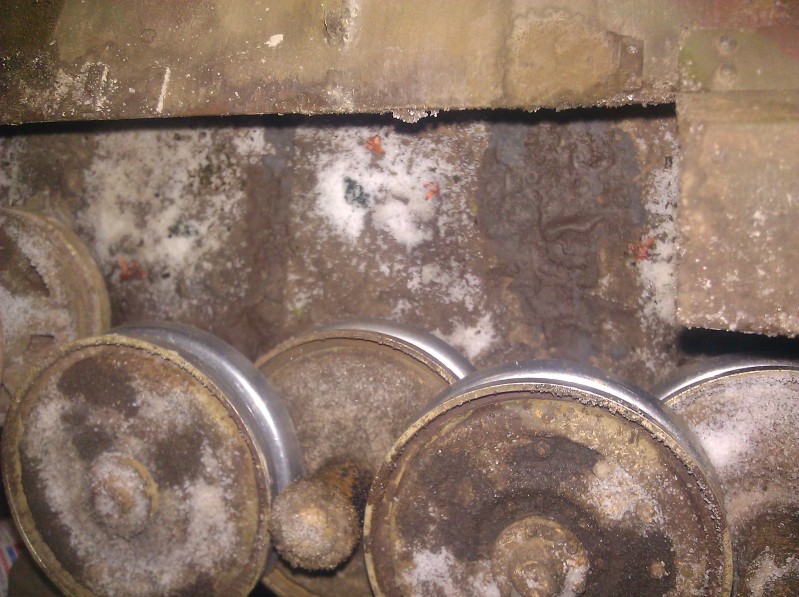 Another shot of road wheels and lower hull with mud and snow and grime added |  Markings and number painted 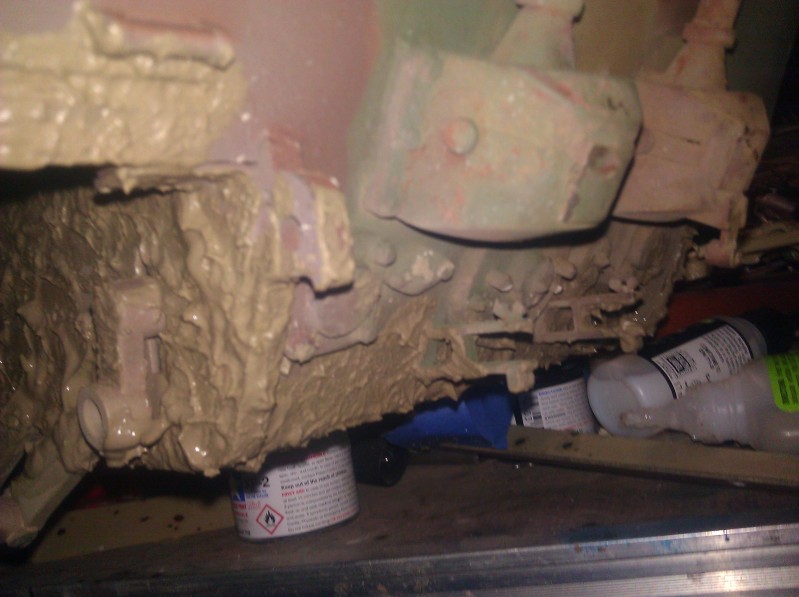 After the earth tones I added a mixture made up of enamel from AK interactive and plaster of paris. This was applied with a thick brushto give texture to our dirt and mud  Here you can see the result of dry and wet dirt and snow all mixed together under the fenders. 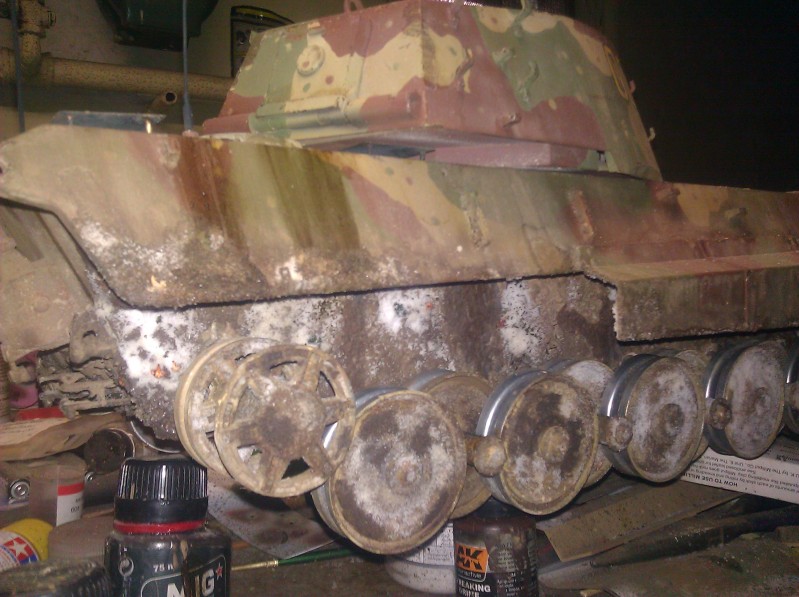 All that's left is to install the TU's and tracks. |
 RSS Feed
